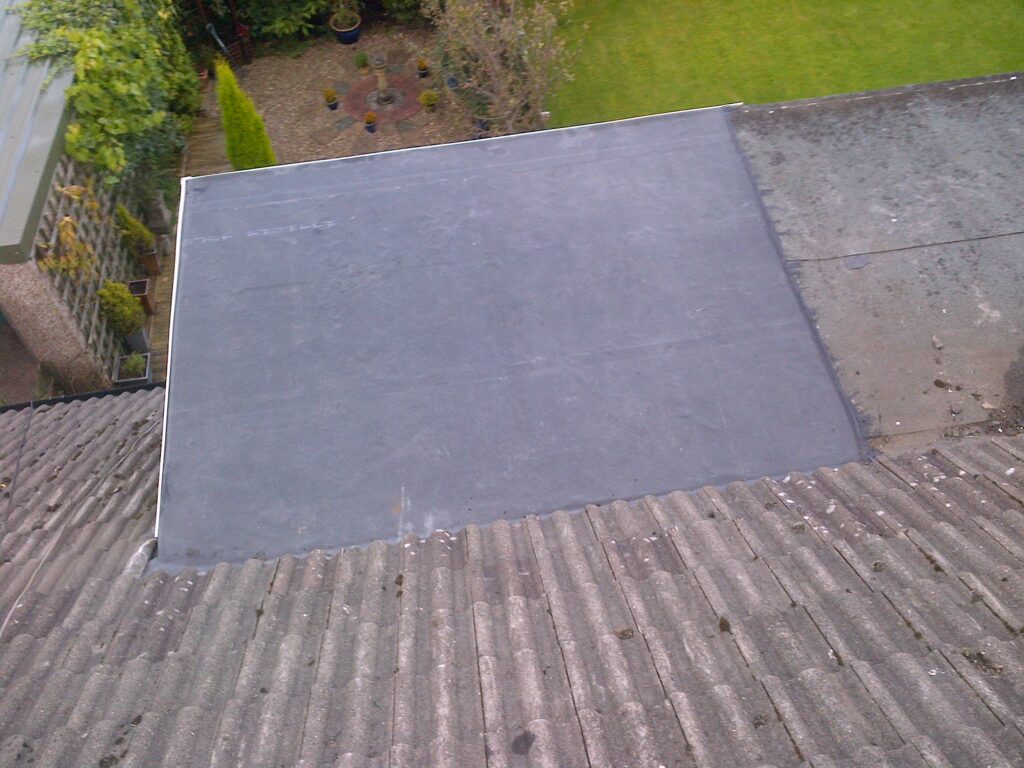
Quick answer: EPDM, TPO and modified bitumen are all worth discussing with a qualified roofer for a low-slope addition. EPDM commonly uses taped seams; TPO uses hot-air-welded seams; modified bitumen uses a specified assembly of asphalt-based sheets. Choose a documented roof system—not just a material name—and compare its slope limits, attachment, drainage and flashing details before comparing prices. None is the universal winner. (jm.com)
For a porch, garage or enclosed addition, start by asking each contractor to describe the complete proposed assembly in writing. A quote that says only “rubber roof” or “flat roof replacement” leaves too much unresolved.
This guide is for U.S. homeowner planning, not installation instructions. Keep your observations at ground level and leave roof access, measurements, seam testing and repairs to qualified professionals.
1. Confirm the slope before choosing a membrane
“Low-slope” does not mean a roof should be level. The 2024 International Residential Code specifies a minimum design slope of ¼ inch vertically per 12 inches horizontally—described in the code as 2%—for single-ply membranes such as EPDM and TPO. The published 2024 New York residential code specifies the same minimum for modified bitumen. These are reference points, not confirmation of the rules governing your property. (codes.iccsafe.org)
Ask your contractor to identify:
- The measured slope and any localized low spots.
- The locally applicable code and requirements.
- The exact manufacturer assembly and its slope limits.
- Whether drainage depends on sloped framing, tapered insulation or both.
- How added roof thickness affects adjoining walls, doors and roof transitions.
Product documentation matters beyond the minimum slope. For example, ICC-ES report ESR-1388 specifies a minimum of ¼:12 for the covered CertainTeed Flintlastic systems, while maximum slopes depend on the particular assembly listed in its tables. (cdn-v2.icc-es.org)
Practical check: Ask, “Which document establishes that this exact assembly is suitable for my measured roof slope?” A general statement that the material works on flat roofs is not an adequate answer.
2. EPDM: check the seam system and compatible materials
EPDM is a rubber roofing membrane. Johns Manville’s EPDM application guide describes taped seams and both mechanically fastened and adhered systems. Its seam requirements vary with the membrane and system configuration. (jm.com)
For proposal comparison, separate two questions:
- How is the membrane secured to the roof assembly?
- How are adjoining sheets and flashing components joined?
Those are different parts of the specification. “Fully adhered,” for example, does not eliminate the need for properly constructed seams, edges and penetrations.
Ask the contractor to name the membrane, reinforcement where applicable, thickness, attachment system, seam products and flashing accessories. Request a roof-layout sketch showing expected field seams and penetrations rather than accepting a promise of a “seamless roof.”
Compatibility deserves particular attention where an addition meets older roofing. Johns Manville warns that bituminous-based coatings can damage its EPDM roofing products and must not be used to coat or repair those systems. That is a product-specific warning against treating general-purpose roof cement as a universal repair material. (jm.com)
Practical check: Have the proposal identify approved transition and repair materials. Do not assume that leftover products from the main house roof are suitable for the addition.

3. TPO: ask how welded seams will be checked
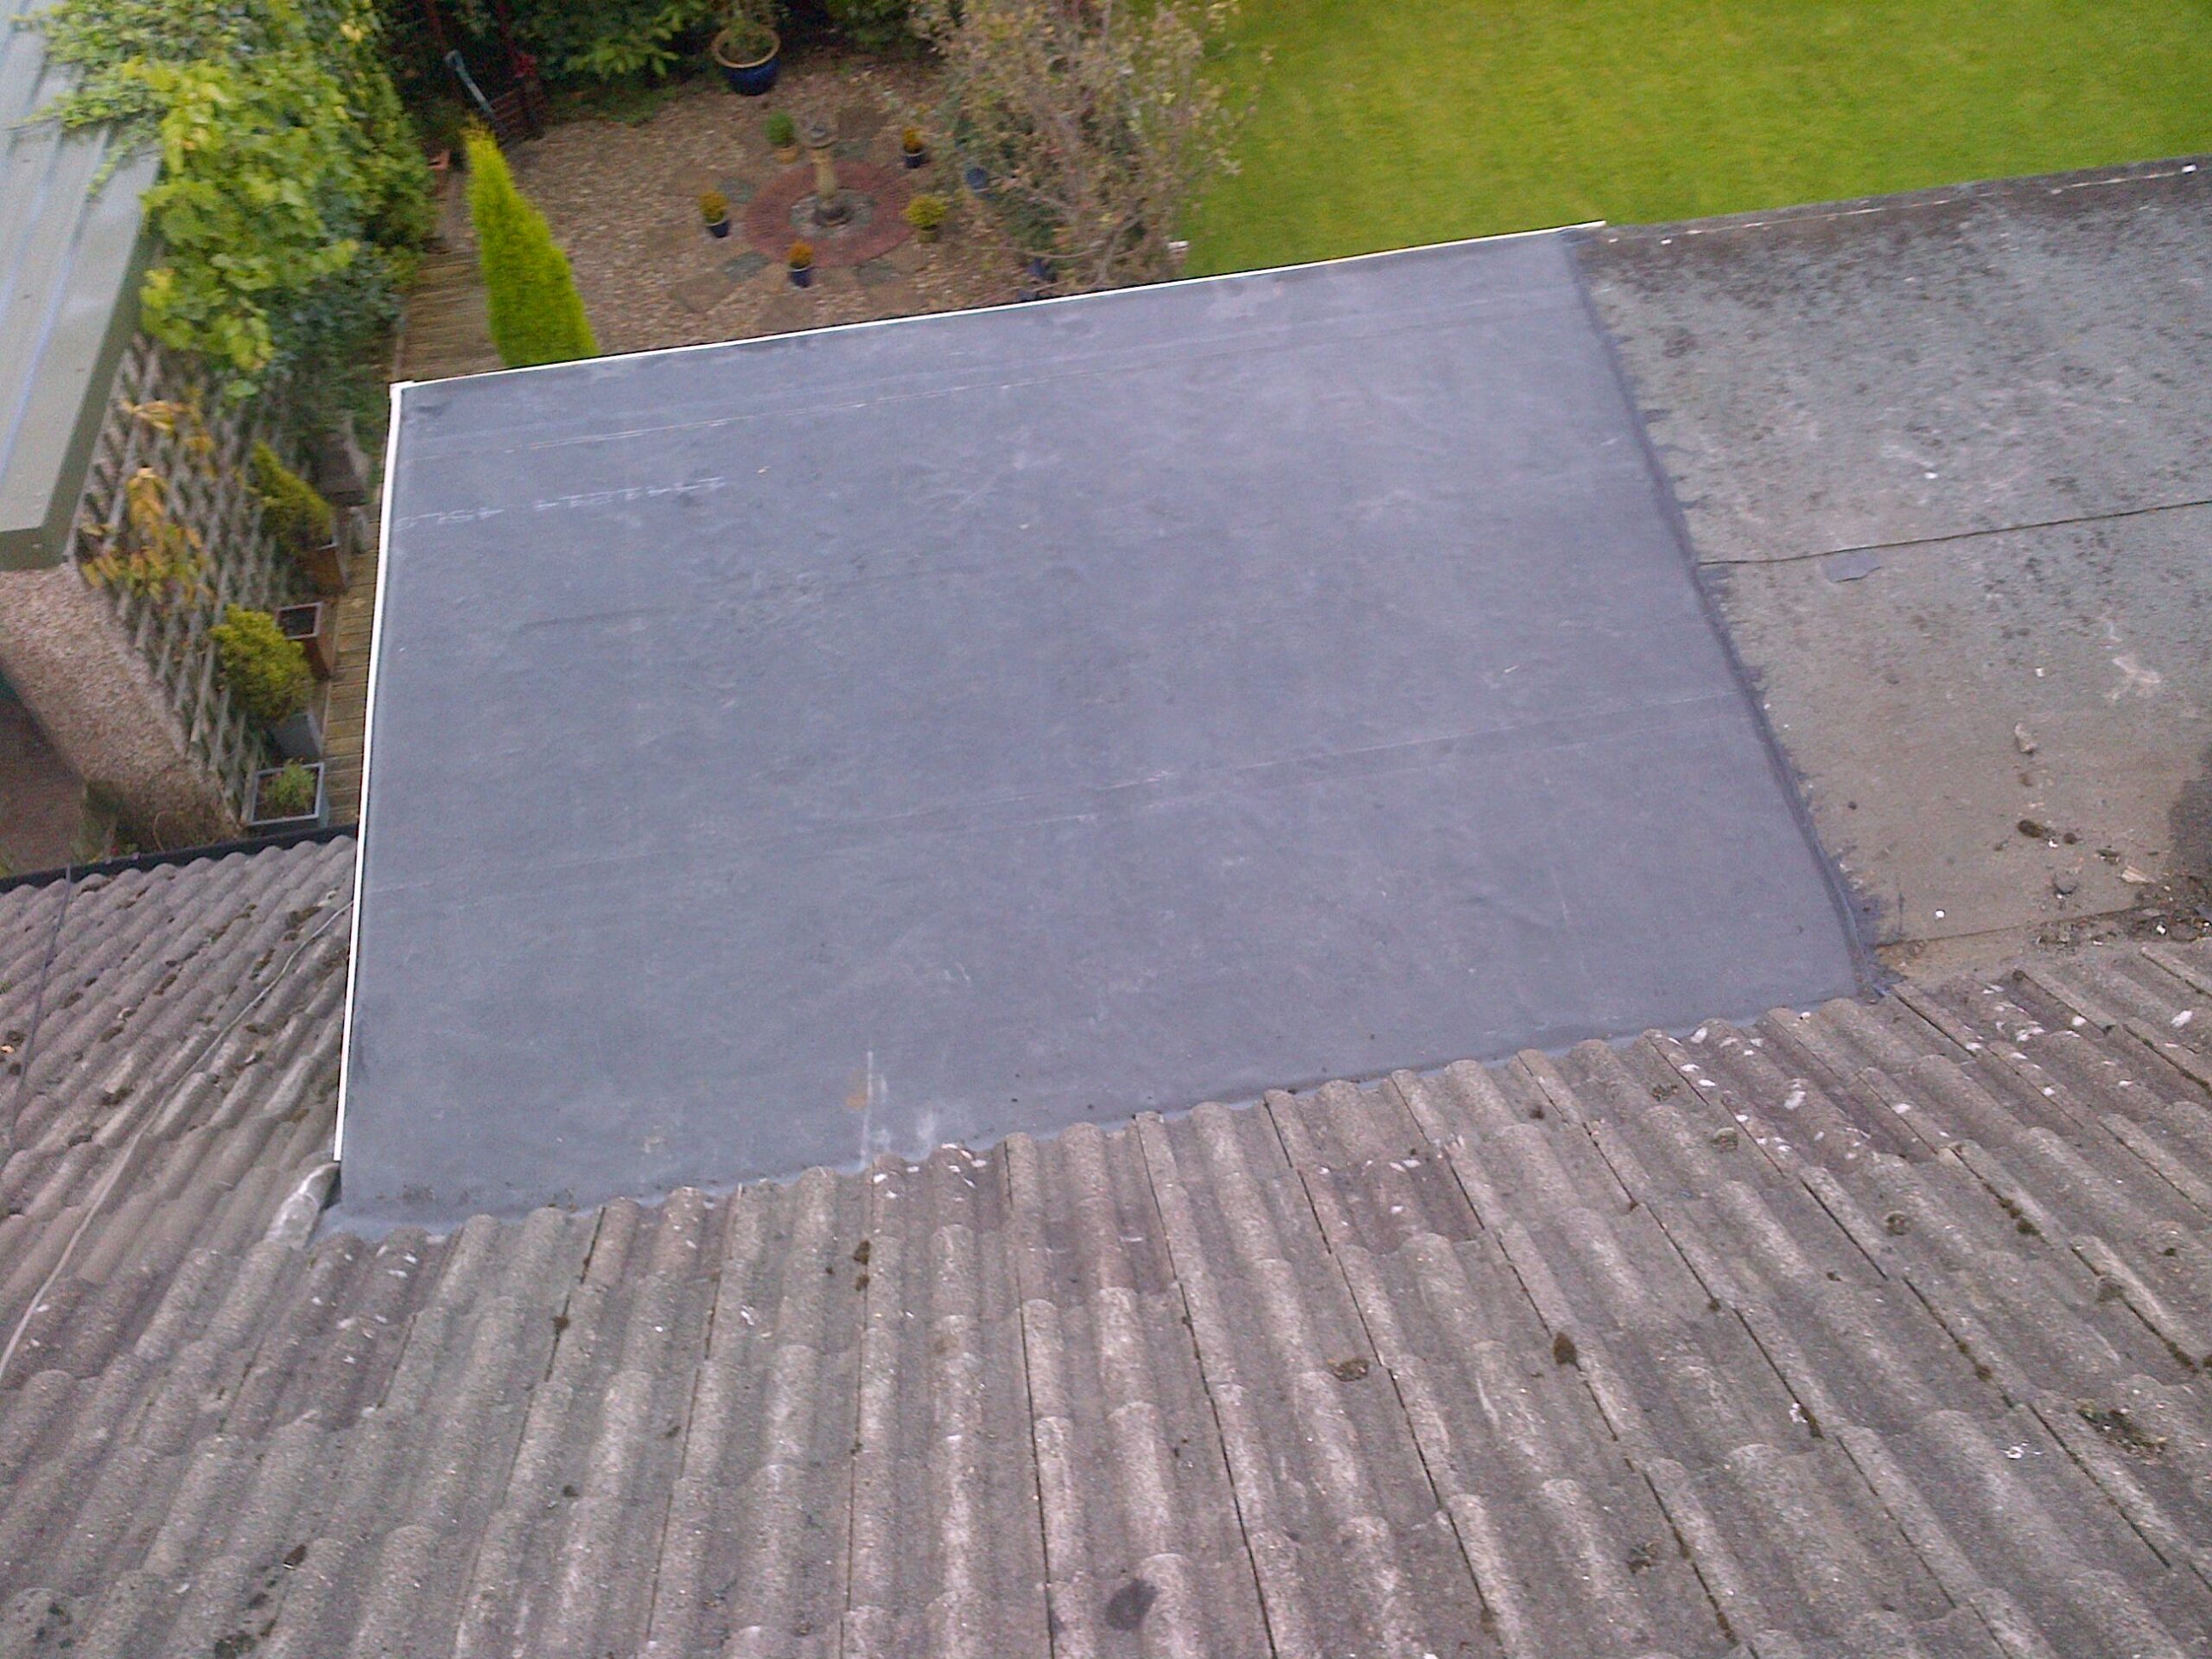
TPO is a thermoplastic single-ply membrane with hot-air-welded seams. Johns Manville publishes separate guidance for mechanically fastened and adhered applications, as well as seam testing and flashing. (jm.com)
The useful comparison is not simply “welded versus taped.” Ask how the installer will verify the finished seams.
Carlisle’s inspection guidance calls for TPO seams to be probed before inspection to identify false or cold welds. It also emphasizes completed perimeter metal, securement, terminations and properly flashed penetrations—not just the open field of membrane. These are professional quality-control tasks, not homeowner checks to perform on the roof. (carlislesyntec.com)
For a TPO proposal, request:
- The exact membrane and thickness.
- The attachment method and approved substrate.
- The contractor’s seam-quality-control procedure.
- Compatible pipe boots, corners and edge components.
- Closeout photographs and any inspection documentation included in the price.
Common mistake: Treating a neat-looking surface as proof that the seams and concealed attachment are correct. Ask for documented checks instead of relying on appearance alone.
4. Modified bitumen: specify the layers and application method
Modified bitumen is a family of asphalt-based membrane systems, not one interchangeable product. CertainTeed’s specifications distinguish self-adhered systems from torch-applied, hot-asphalt and cold-adhesive systems. (certainteed.com)
A self-adhered option is therefore worth discussing when a homeowner wants alternatives to torch application. However, “self-adhered” does not mean the entire assembly contains no mechanical fasteners. CertainTeed’s published SA-N-2-S assembly combines a mechanically attached base sheet with a self-adhered cap sheet. (certainteed.widen.net)
Ask the proposal to identify:
- The base sheet.
- Any intermediate sheet.
- The exposed cap sheet.
- How each layer is attached.
- The approved substrate and flashing assembly.
- Any weather-related application restrictions.
Do not compare a two-layer proposal with a three-layer proposal as though they were identical simply because both say “modified bitumen.” CertainTeed’s published matrix shows that system configurations and warranty eligibility vary with the selected components. (certainteed.widen.net)
Practical check: Ask for the assembly designation and component list. A cap-sheet brand name alone does not describe a complete roof.
5. Resolve drainage and the connection to the house
Put drainage and transitions ahead of cosmetic preferences. Manufacturer documents provide distinct details for drains, scuppers, roof edges, walls and connections to other roofing because these conditions require different treatments. Johns Manville, for example, publishes separate EPDM and TPO details for transitions to shingle roofs. (jm.com)
Ask for a simple drawing showing:
- The direction water will travel.
- The gutter, drain or scupper receiving it.
- Any areas requiring tapered insulation.
- How water will move around penetrations.
- Whether an overflow provision is needed.
- The discharge route beyond the roof.
Then ask who is responsible for the connection to the existing house. Does the scope include removing and reinstating siding, shingles or other materials needed to complete the flashing?
Johns Manville’s TPO-to-shingle detail illustrates that this connection involves coordinated membrane, coated metal and adjoining roofing components—not merely a bead of sealant at the joint. It also calls for project-appropriate professional review of relevant carpentry and metalwork. (jm.com)
Common mistake: Accepting “tie into existing roof” without a detail or an explanation of what adjacent work is included. Ask the contractor to identify the detail and any necessary modifications before signing.
6. Worked example: compare a hypothetical 12-by-20-foot addition
Assume a hypothetical U.S. addition with a 12-foot horizontal drainage run, a 20-foot width, a connection to the house at its high edge and a gutter at its low edge. These are invented planning dimensions, not an assessed property.
Its rectangular plan area is:
12 × 20 = 240 square feet
At an illustrative design slope of ¼ inch per foot, the elevation difference over the 12-foot run is:
12 × ¼ inch = 3 inches
That arithmetic illustrates slope; it does not determine framing, insulation thickness, structural adequacy or the final material order. The ¼-inch-per-foot reference comes from the cited code provisions. (codes.iccsafe.org)
Suppose you request these three alternatives, subject to professional confirmation of suitability:
| Comparison item | EPDM alternative | TPO alternative | Modified-bitumen alternative |
|---|---|---|---|
| Waterproofing specification | Named membrane, thickness and seam system | Named membrane, thickness and welded-seam system | Named base, intermediate layer if used, and cap |
| Attachment | Exact approved method | Exact approved method | Attachment stated for each layer |
| Quality documentation requested | Seam and flashing checks | Weld and flashing checks | Lap and flashing checks |
| Shared scope requested | Same drainage, insulation, edge and transition objectives | Same | Same |
The membrane and assembly distinctions follow the manufacturers’ system documentation; the table is a proposed comparison framework, not an approved design. (jm.com)
To make the bids comparable, ask all three contractors to address the same assumptions: new construction or replacement, deck condition, insulation objectives, drainage layout, house connection, gutter work and cleanup.
No dollar figures are assigned here because no verified local quotations support them. If one bid omits tapered insulation or house-wall work, request a revised scope before interpreting the price difference as a material saving.
7. Use a complete proposal-comparison checklist
Use this checklist to turn a material discussion into a purchasing decision. Ask each bidder to mark every item included, excluded, allowance or not applicable.
| Item | What to request in writing |
|---|---|
| Roof dimensions | Area, slope and measurement assumptions |
| Existing roofing | Tear-off or recover proposal, disposal and investigation scope |
| Deck condition | Inspection responsibility and pricing method for authorized repairs |
| Complete assembly | Manufacturer, product names, thicknesses or layers, and assembly reference |
| Attachment | Method and project-specific design responsibility |
| Insulation | Type, thickness, tapered layout where proposed, and thermal/moisture-design responsibility |
| Drainage | Outlets, gutters, downspouts and overflow assessment |
| Flashing | Walls, pipes, edges and connection to the existing roof |
| Adjacent work | Siding, masonry, fascia or shingles affected by the installation |
| Quality control | Installer checks, photographs and any manufacturer inspection |
| Closeout | Warranty documents, maintenance instructions and repair contact |
| Price terms | Allowances, exclusions, change-order approval and payment stages |
Request project-relevant wind and fire documentation rather than accepting a blanket claim about a material. The IRC includes wind-resistance provisions for single-ply roofing; the Flintlastic evaluation report identifies fire classifications for specified assemblies, not every possible combination of components. (codes.iccsafe.org)
Keep warranty comparison separate from predicted lifespan. Ask for the actual proposed warranty and eligibility conditions, not just its advertised duration.
8. Plan maintenance access before approving the roof
Ask how a professional will safely reach the roof for inspection and service, and whether designated protection is needed along any service route. Include this conversation before equipment or other access needs are finalized.
Johns Manville recommends checking key areas of its commercial low-slope roofs at least twice annually. Use that as a discussion starting point, then obtain maintenance instructions and an inspection schedule appropriate to the selected residential assembly and warranty. (jm.com)
Keep a file containing the contract, assembly information, completion photographs, warranties and service records. From ground level, note visible overflow, displaced edge components or interior water staining and report changes to a qualified professional. Do not climb onto the roof to locate a leak.
The final decision should answer four questions clearly:
- Is the specified assembly suitable for the measured roof and local requirements?
- Is the drainage route fully addressed?
- Are transitions and adjacent work included?
- Can the contractor explain how the finished installation will be checked?
If those answers remain vague, resolve them before choosing between EPDM, TPO and modified bitumen.
Read next: Roofing Warranties Explained: Materials, Workmanship and the Fine Print