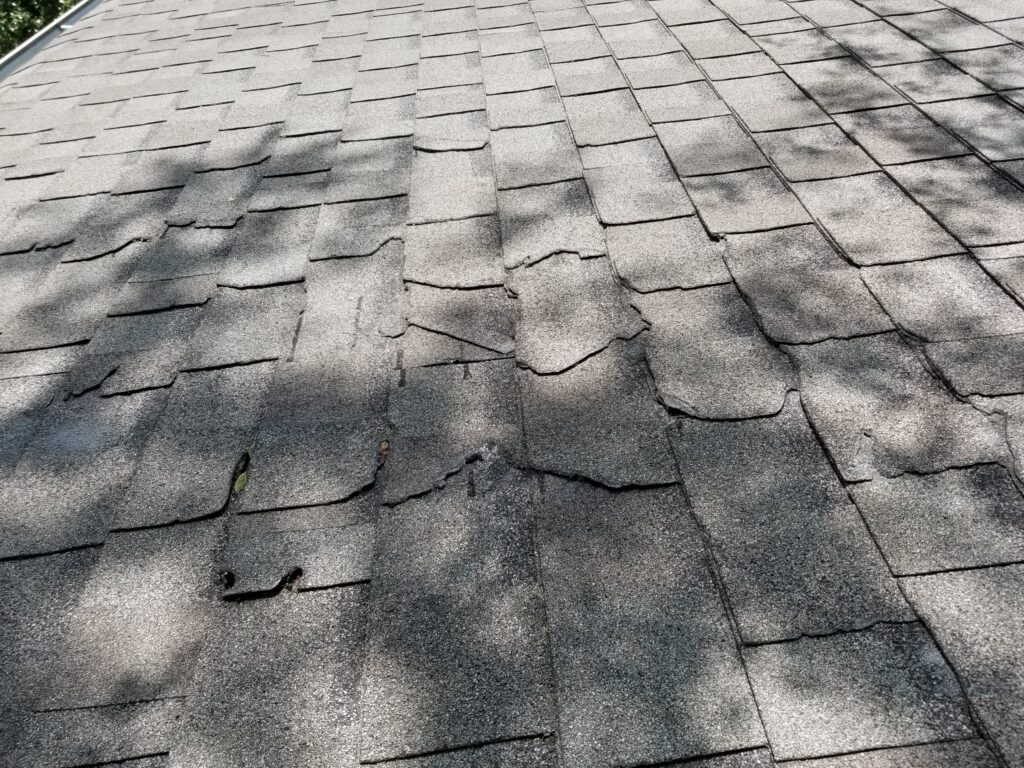
Quick answer: Check your roof from the ground in spring and fall, and look for changes after severe weather once conditions are safe. Watch for missing roofing, accumulated debris, damaged gutters and indoor water stains. GAF recommends twice-yearly ground-level observations and additional checks after severe weather. Arrange a qualified inspection when you notice damage or leaks; follow your roof manufacturer’s specific maintenance requirements. Do not climb a ladder, access the roof, install a tarp or attempt repairs as part of this checklist. (gaf.com)
1. Set a seasonal schedule—not a universal inspection rule
Use two recurring calendar reminders as your starting point: one after winter and another before winter weather arrives. These are opportunities to compare visible conditions, update photographs and arrange any necessary professional work—not declarations that the roof is sound.
Adjust the timing to your property. MBCI’s metal-building maintenance manual, for example, ties maintenance frequency to location, environmental exposure, age and condition. It recommends additional attention after severe storms and more frequent maintenance in certain corrosive environments. Those instructions illustrate why one calendar cannot replace the manual for your installed roof system. (mbci.com)
Here is a suggested annual calendar for a U.S. homeowner. Move the seasonal tasks to suit your local weather.
| When | Your ground-level or indoor task | Follow-up to schedule |
|---|---|---|
| Beginning of the year | Gather installation records, warranties and previous reports. List unresolved concerns. | Ask the installer or manufacturer which maintenance instructions apply. |
| Spring, after winter conditions ease | Repeat exterior photographs and scan indoor ceilings and upper walls. | Request evaluation of newly visible damage or moisture. |
| Before your local severe-weather season | Review baseline photographs and save contractor details. | Resolve previously identified problems rather than leaving them on the reminder list. |
| Fall, before winter weather | Repeat the exterior comparison and review drainage concerns. | Arrange professional cleaning or repairs where needed. |
| Winter, from safe locations only | Note new indoor moisture or visible changes without approaching icy eaves. | Describe concerns to a qualified contractor; do not attempt snow or ice removal. |
| After severe weather | Wait for safe conditions, then document visible changes. | Request an inspection if damage is apparent or you are concerned about unseen areas. |
Treat this as a planning template. Ask the professional who evaluates your roof to recommend the next inspection date and explain the reason for that interval.
2. Make the same ground-level observations each time
Choose stable viewing positions on your own property where you can look up without standing beneath loose materials. Use binoculars or camera zoom rather than seeking a closer view from a ladder.
GAF’s ground-inspection guidance identifies fallen or missing shingles, misshapen roofing, accumulated leaves, visible flashing damage, and gutter, fascia and soffit problems as useful observations. Leave elevated gutter access to an insured service. (gaf.com)
For a repeatable record, divide your notes into three groups:
- Roof covering: Does an area look different from your earlier photograph? Is roofing missing, displaced or visibly damaged?
- Edges and adjoining details: Is a gutter hanging differently? Does visible metalwork appear detached? Are branches or other objects resting on the roof?
- Visibility limits: Which slopes, valleys or roof sections could you not see?
Write “rear low-slope section not visible” rather than “rear roof good.” An observation log should distinguish what you saw from what remains unknown.
Include drainage in the review. PNNL’s Building America guidance explains that gutters and downspouts collect roof runoff and direct it away from the building. Record disconnected downspouts, repeated overflow or discharge that leaves water beside the house, and ask a professional to evaluate the cause and appropriate correction. Do not assume cleaning alone will solve every drainage problem. (basc.pnnl.gov)
3. Check indoors—and decide when to call
During each scheduled check, look at ceilings and upper walls from normal occupied areas. GAF identifies damp spots, dark patches and peeling ceiling paint among possible signs of roof leakage. Its residential guidance also lists leaks, water stains and sagging as reasons to contact a roofing contractor. (gaf.com)
Use a simple response plan:
Contact a qualified professional promptly when you find active dripping, a new or enlarging stain, visibly missing roofing, or a newly displaced roof component. Describe what changed and whether it followed rain, wind or another event. Do not wait for the next seasonal reminder.
Keep people away from potentially dangerous areas. Do not stand beneath a visibly sagging ceiling or approach loose overhead materials to photograph them. Following severe storm damage, stay out of damaged buildings until authorities determine they are safe; CDC also advises leaving if shifting or unusual noises suggest instability. (cdc.gov)
For an indoor record, note:
- The room and precise location.
- Whether moisture is active or the surface appears dry.
- When you first noticed it.
- The weather conditions at that time.
- Whether the appearance has changed.
These notes are a request for investigation, not a diagnosis. Ask the contractor to explain the likely source and any limitations of the assessment before proposing work.
Do not enter an attic that requires climbing, balancing or moving through an unsafe space. Ask the professional whether an interior inspection is needed and how it will be accessed safely.
4. Document storms only after the hazards have passed
A storm check begins with safety, not photography. The National Weather Service says to move into safe shelter when thunder is heard and remain there for at least 30 minutes after the last thunder. Waiting out lightning does not mean every other storm hazard has ended. (weather.gov)
NOAA warns that downed power lines, floodwater, debris and damaged structures can remain hazardous after the sky clears. Return after an evacuation only when officials say it is safe. Stay far away from damaged power lines and do not walk through floodwater to reach a viewing position. (noaa.gov)
Once conditions permit:
- Take an overview from your usual safe position.
- Use zoom for visible changes; do not move beneath damaged eaves.
- Record the observation date separately from the storm date.
- Save original files before adding arrows, labels or crops.
- Send relevant images with a short, factual description.
Write “section appears absent compared with spring photograph,” not “wind damage confirmed.” A homeowner’s photograph documents an observation; it does not establish the cause, repair scope or insurance coverage.
Do not remove roof debris, reposition loose materials or install a temporary tarp for a clearer photograph. Request professional assistance instead.

5. Match maintenance to the actual roof system
Before approving cleaning, coating, sealing or repairs, identify the roof material and, where possible, the manufacturer and product. Keep unknown details marked “unknown” until confirmed.
Use these material-specific questions:
| Roof type | What to discuss with the professional |
|---|---|
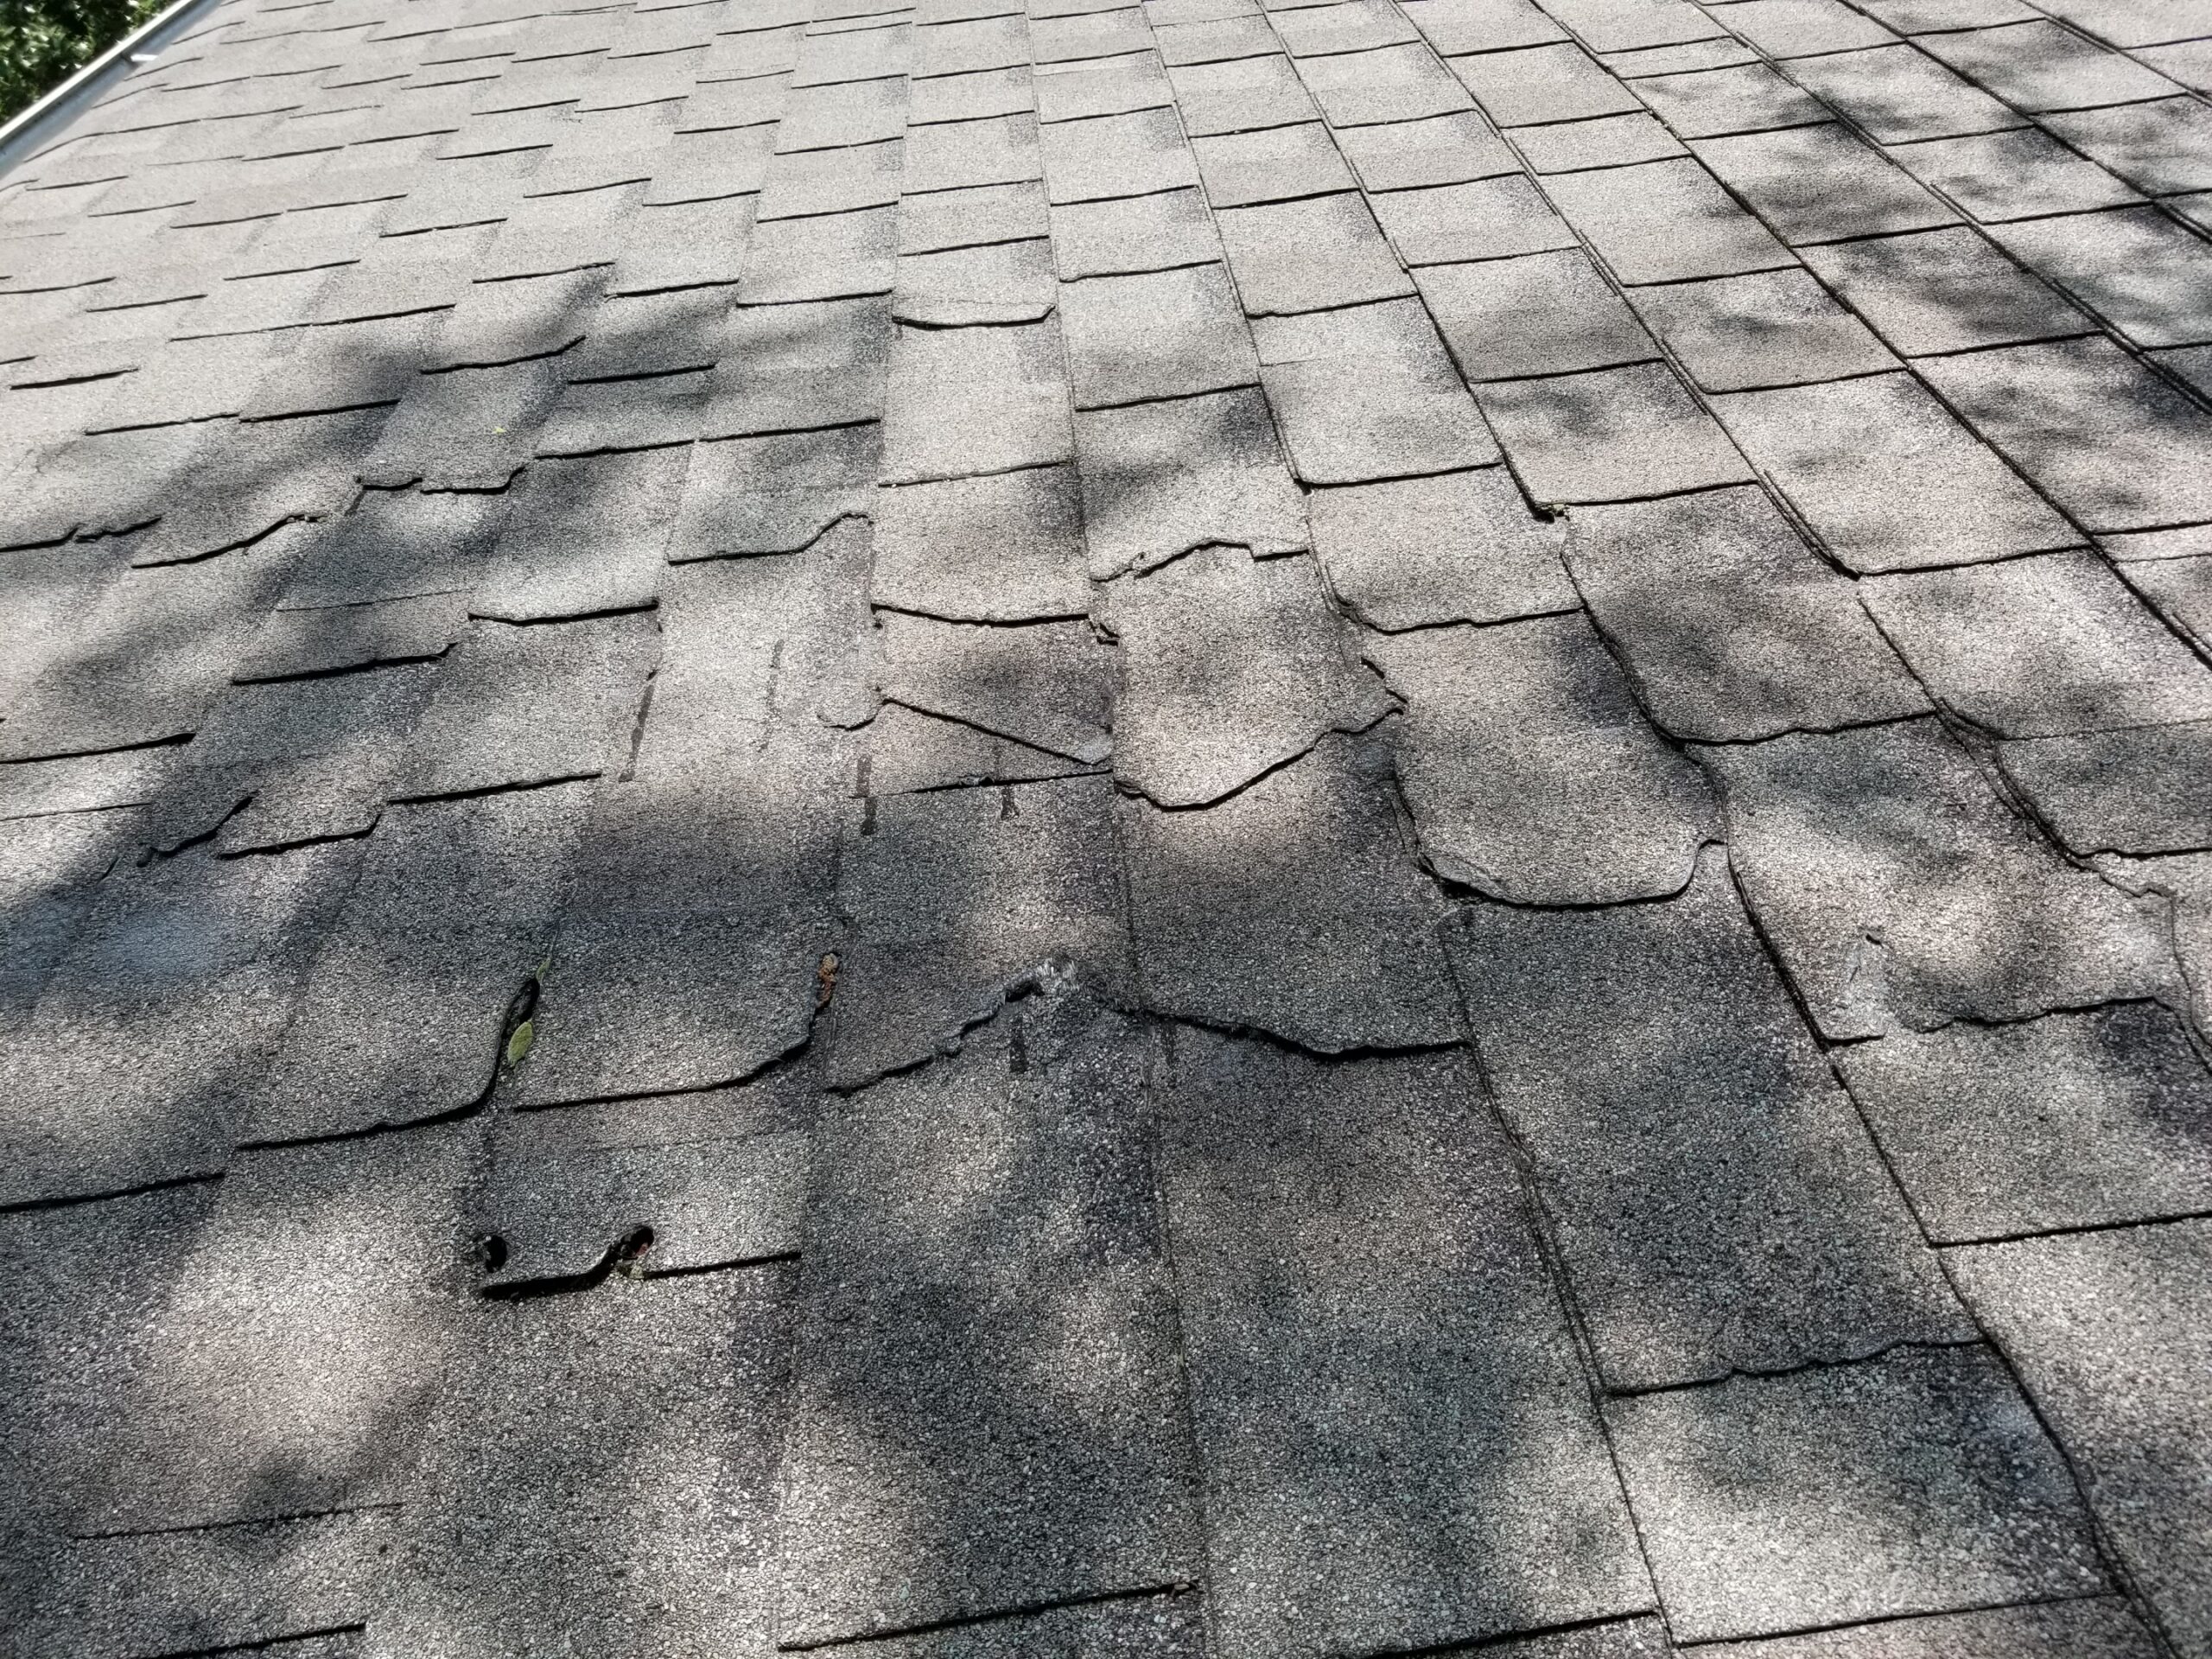
| Asphalt shingles | Ask whether visible changes call for localized repair, further investigation or broader work. ARMA explains that individual asphalt-roof components can often be repaired independently; visible damage does not automatically establish that full replacement is necessary. |
| Metal roofing | Obtain the applicable panel, finish and maintenance documents. MBCI’s manual addresses drainage, storm checks and damage to roof components, but it is metal-building guidance—not a universal specification for every residential metal roof. |
| Low-slope membranes or coated roofs | Ask which system-specific inspection and drainage checks apply. GAF’s maintenance checklist includes drains, roof edges, penetrations, debris and ponding-water observations; many of these require professional access. |
| Tile, slate, wood or an unidentified covering | Request instructions for the actual material and system. Do not borrow a cleaning or repair method from a different roof type. |
The asphalt guidance comes from ARMA; the metal and low-slope examples come from the respective manufacturers. None establishes the condition of an individual property or its warranty coverage. (mbci.com)
A useful question is: “Which published instructions support the maintenance you recommend for this roof?” Ask for those instructions with the proposal.
6. Keep a photo log that leads to action
Create one folder for the roof, with subfolders for installation records, seasonal observations, storms, professional reports and invoices. Use consistent filenames such as year-month-day_rear-overview.
Here is a hypothetical example—not a diagnosis or a reported homeowner outcome:
| Log entry | Observation | Next action |
|---|---|---|
| Spring baseline | Rear roof photographed from patio; no obvious gap visible in that image. | Save the original. |
| After a summer storm | Zoomed photograph shows an area that appears different. Rear valley remains hidden. | Send both photographs and request evaluation. |
| Contractor visit | Reserve space for the contractor’s findings, inspected areas and limitations. | Obtain written recommendations before authorizing work. |
| Follow-up | Reserve space for the invoice, completion photographs and next review date. | Close the task only after reviewing the documentation. |
The practical lesson is to preserve the sequence: baseline → change → assessment → authorized work → completion record.
Avoid these common mistakes:
- Replacing the original photograph with an annotated version.
- Recording a conclusion without the observation behind it.
- Leaving an unresolved concern in a folder without a follow-up date.
- Treating a ground-level photograph as evidence that hidden areas are sound.
- Assuming a stain that looks unchanged no longer needs investigation.
Your log does not need specialist terminology. Clear locations, dates and questions are more useful than an uncertain diagnosis.
7. Budget for a defined professional visit
Build your maintenance budget around written local quotes rather than a universal inspection price. This guide does not provide a verified national dollar range.
Request a scope that answers:
- What areas and components will be assessed?
- How will inaccessible areas be handled and reported?
- Are photographs and a written findings report included?
- Is gutter cleaning included or separately priced?
- Are minor repairs excluded, included up to a limit, or separately authorized?
- What happens if the visit identifies an urgent concern?
- Is a follow-up visit included?
For a simple annual worksheet, use:
Planned assessment costs + separately quoted cleaning + approved maintenance + an uncommitted reserve.
Enter actual quotes in U.S. dollars. Keep replacement planning separate so the same savings are not counted twice.
Before winter, give unresolved drainage concerns particular attention. GAF notes that debris can obstruct gutter drainage and that tree-heavy properties may need additional cleaning. That is a reason to request property-specific scheduling—not to climb up and investigate yourself. (gaf.com)
Finish every professional visit by asking: What was inspected, what could not be inspected, what needs action, and when should the roof next be reviewed? Put those answers into the calendar. That turns a seasonal reminder into a practical maintenance plan.